Tuesday, July 26, 2011

Clearly For You

Again using the gorgeous "Clearly for You" stamp set we created this card at July's "Making Gifts and Cards" Class.

The butterfly was die cut using the Big Shot Machine with the "Beautiful Butterflies" Bigz die which get sooooo much use, I mean, who doesn't like butterflies!

Using marker pens we inked up the "blackberry" stamp from the set using Cherry Cobbler, Pear Pizzazz and Early Espresso and stamped onto the Butterfly then once finished we daubed around the edge in Early Espresso and used the same colour to add some "spritz" with the Spritzer Tool which I seem to be using a lot recently!

We embossed the Very Vanilla layer using the "Elegant Bouquet" Textured Embossing Folder then Spritzed with Early Espresso.  The greeting "for you" is also from the same stamp set and punched it out with the Word Window Punch, trimming one of the ends of by putting it back into the punch for a second time.  We also did this with the Espresso layer behind, this time using the new Decorative Label Punch.  We added a mix of Crystal Effects with some Baja Breeze re-inker to the centres of the flowers to finish.

~~~oOo~~~

Supplies used:
Stamps: Clearly For You (Mini Cat. Page 22)
Ink: Early Espresso
Marker Pens: Cherry Cobbler, Pear Pizzazz & Early Espresso
Cardstock: Cherry Cobbler, Early Espresso, Very Vanilla, Baja Breeze
Big Shot: Beautiful Butterflies Bigz Die, Elegant Bouquet Embossing Folder
Tools: Decorative Label Punch, Word Window Punch, Scallop Trim Border Punchm Spritzer Tool
Accessories: Crystal Effects, Re-inkers, 1/8" Taffeta Ribbon

Saturday, July 23, 2011

Making Gifts and Cards Class

The Gable Box, perfect size that will find an endless amount of different gifts or sweet treats as it is quite large.

A colour I haven't used for a while, Cherry Cobbler and it is definitely one of my favourites and here I have teamed it with Baja Breeze and Early Espresso.

The stamps used were from the set "Clearly For You" from the Mini Catalogue which you can find on Page 22 priced at £17.95 for Clear Mount or £22.95 for Wood Mount, such a gorgeous set which I have been using a lot recently.

We also used the "Very Vintage" jumbo wheel on the Very Vanilla panel, inked with Crumb Cake ink.


We used the pretty little butterfly stamp with Whisper White Kraft ink on the base of the box, it stands out perfectly again the darkness of the Cherry Cobbler cardstock.  Our 3D flower is made using the 5 Petal Flower Punch and the tiny flower in the centre is punched out using one of the Bitty Punches, secured in place with a Crumb Cake brad from the Neutrals pot.

We created our handles using the medium sized Oval which is the 1 3/4" x 7/8" and tied a piece of Early Espresso 1 1/4" Striped Ribbon in a knot. 


Wednesday, July 20, 2011

6 Cards for £10

I hold my "6 Cards for £10" Class on the first Wednesday of the month at Alveston Methodist Church.  These are the cards we created earlier this month. 

I try to include a selection of masculine, feminine, young and old so that there is something for everyone!


The cards are all pretty basic and easy to duplicate, much less advanced than my usual 2 card classes and if you place an order from the Catalogue for £20 you get your class for free!

If you would like more information on the different classes that I run, please don't hesitate to contact me.

Tuesday, July 19, 2011

Final Class Layout

Our final layout of the class, one for the boys this time with a bit more of a masculine touch!
Our colour combo is Wild Wasabi, Chocolate Chip, Crumb Cake and Night of Navy.  The Designer Series Paper is from "Woodland Walk" and has a masculine feel to it with lovely woodgrain designs.

Quite a lot going on in this layout, punching, stamping, die cutting and I still have a little journalling and dating to finish mine off.

We used the "Timeless Type" Sizzlits Alphabet with the Big Shot Machine for part of the Title along with "Just Perfect" stamps for the second part.  We also die cut out title panel which is the Top Note Die, cutting around the perferated edge on the Very Vanilla layer and stamping with the "Sanded" background stamp which I use so often.

We stamped circle images from "Circle Circus" and punched out with corresponding circle punches.

Friday, July 15, 2011

Scrapbooking

For this layout we used the "Blueberry Crisp" papers, this pack co-ordinates with the stamp set "Razzle Dazzle".  You will need to double click on the photo for a larger image to see the stamping details as they are difficult to see from this view.

Our colour combo is Pacific Point, Sahara Sand, Basic Black and Very Vanilla.  We used stamps from the "Tiny Tags" and "Notably Ornate" sets and also did a little spritzing with the Spritzer which I love!  We used a strip of stripy Sahara Sand paper which is from the Neutrals Patterns Stack, these paper pads just go on for ever!

The title was die cut using the "Timeless Type" Sizzlits Alphabet which we cut out using the Big Shot Machine.  We also used the Top Note, Swirls and Scribbles and one of the Tags dies. 

We used a decorative Brad from the Hodgepodge Hardware Kit with some Paper Daisies which are really pretty used alone, but great for stamping on too!

~~~

Off to Fareham bright and early in the morning for Amanda's Quarterly Training so will hopefully have some lovely things to share with you soon.

Will be back with the final scrapbook layout for July's class over the weekend.

Wednesday, July 13, 2011

Scrapbooking

Can't believe where the time is flying by, doesn't seem two minutes ago that I was having my last Scrapbooking class, a whole month has gone so I guess I must just be having the best time being a Stampin' Up! Demonstrator and loving what I do!!

This layout was pretty quick to assemble, not loads of stamping, some spritzing and die cutting along with embossing too.  The papers are from the "Sweet and Sour" DSP pack and there is also a Melon Mambo strip from the Patterns Stack.

The title was stamped using "Broadsheet", one of the Alphabet stamps which I adore, using Pumpkin Pie and Melon Mambo ink.

The butterflies were die cut using the "Beautiful Butterflies" Bigz die with the Big Shot Machine and we added pearls to the centres to finish.

Click on the image for a larger view.  Busy week here but back very soon with the other class layouts.

Saturday, July 9, 2011

Big Shot Class for July

The next "Big Shot Class" is Tuesday 12th July, 7.00pm at Whitminster, I still have spaces available so if you would like to come along please let me know asap.

At this class we create 3 projects, this time we are concentrating on the Scallop Envelope Bigz Die.  We are making two 3D items and a card as you can see in the picture below.


Call me on 07717 068909 / 01452 740532 or email me at stampinkerry@aol.com to book your space.

Friday, July 8, 2011

Stained Glass Butterfly

Our technique for this month's card class was the "Stained Glass" one which you will see on my previous post.

Again our butterfly was die cut using the "Beautiful Butterflies" Bigz Die Item No: 114507 £18.95 which you will find in the Mini Catalogue on Page 7.  We cut the top Butterfly layer from Vellum and the bottom in Whisper White which helps the Stained Glass efffect stand out as the vellum is translucent.

You need to ink up the Vellum Butterfly using VersaMark ink, I have used the "Fine Flourish" mini background stamp, then dip into your black embossing powder and heat using the Heat Tool.  You then colour in the image on the reverse side.  Very pretty and yet so simple!

The greeting is from "Perfect Punches" stamp set, inked in Rich Razzleberry and punched out using the XL Oval Punch then layered onto one of the Sizzlits "Lots of Tags" dies which are also found in the Mini Catalogue on Page 8.


The leafy image behind the Butterfly is from the "Hopeful Thoughts" stamp set which looks beautiful coloured with the marker pens in different colours but as we were already doing lots of pen work we just inked it in co-ordinating Pear Pizzazz.

Tuesday, July 5, 2011

It's a celebration!

A card that I made recently for Michaela who is one of my "Stampin'spiration" team members.  The butterfly, cut from the "Beautiful Butterflies" Bigz Die on the Big Shot Machine is something I have been using this month with a technique called "Stained Glass".  You will be seeing this in action at classes and workshops, it is so pretty and effective, yet simple to achieve.


The "Stained Glass" effect looks much better with a Whisper White layer behind as it shows the technique much more clearly and we have been doing this at recent classes.

If you would like to see a Demonstration of how this beautiful butterfly is created, why not book a party, earn yourself some lovely free Stampin' Up! goodies, learn and be inspired!

Call me on 07717 068909 / 01452 740532 or email me at stampinkerry@aol.com for further information.


Thursday, June 30, 2011

Criss Cross Card

At our Alveston Class this month we made this cute little "Criss Cross" card, I re-designed the original tutorial so that you can make two card bases from one sheet of A4 cardstock.

Our colour combo is Crumb Cake, Marina Mist and Pear Pizzazz.  We used the stamp set "Cottage Garden" to create our 3D flowers and with this being a 2 Step Stampin' set the stamp-a-ma-ijg was in full use!!  Such a pretty set consisting of 7 stamps which includes a gift tag, butterfly and greeting images.

So you write your message on the interior "tab" which comes right out of it's pocket.

We used the Big Shot with the "Square Lattice" Embossing Folder on our Marina Mist triangles which gave a lovely textured finish.

The leaf shape is from one of the Sizzlits Dies called "Little Leaves".
To finish off we added Basic Pearls to the centres of our flowers, quite cute!!


Monday, June 27, 2011

For Father's Day

As my dad is a great lover of Motorbikes, I just had to create a Father's Day card using one of the A la Carte stamps from the Mini Catalogue called "Motorcycle".  This is such a lovely stamp, perfect for those man cards!


I used my Big Shot Machine with the Top Note Die to create a panel for my stamped image, cutting it in half and spritzing with a Soft Suede marker pen then layering onto a Soft Suede panel that I had embossed with the Square Lattice Embossing Folder.

I created a border using the Scallop Trim Border Punch and wrapped around a piece of Espresso Satin Ribbon and on top of that some Twill ribbon, tying at one end with some Linen Thread to give a more manly feel.

My greeting is from the stamp set "Plane and Simple", just perfect for this occasion!!!

I was really pleased with the final result, it's always a struggle creating cards for the men in our lives, don't you think!

Friday, June 24, 2011

June Big Shot Class

So here are some close up pictures of the projects we created at this month's Big Shot Class.  The die we concentrated on this month was the Scallop Circle, in case you hadn't noticed!!!

Firstly we created a gorgeous little gift bag, suitable for holding a couple of choccies or maybe even some jewellery!


The second project was this sweet but simple wedding/anniversary card.  We used the Big Shot to emboss the Scallop Circle using the "Vintage Wallpaper" Embossing Folder, this is just so pretty and the embossing folders give a very deep embossed image.

We used the 5 Petal Flower and Boho Blossoms Punches to create our flowers.


Last but not least, our Scallop Circle shaped card.  Another Embossing Folder used here, the "Square Lattice" one on the Vanilla Circle. We used some of the lovely Springtime Vintage Papers as the colours matched perfectly.  Again more flowers and some of the new Rose Red Seam Binding Ribbon.  We used the Sizzix Circles die for the Soft Suede one and the 1 3/4" Circle Punch to punch out the greeting.


Would you like to purchase this kit by post?  Your kit will include everything you need to make these three projects, colour photographs with very brief instructions.  You will receive ready punched and embossed layers and shapes, basically all you have to do is use your own stamps for the greetings, then assemble your cards!

Kits will cost £14 which includes postage to your door,
email me at stampinkerry@aol.com or call 07717 068909 to order or for more information.

Sunday, June 19, 2011

June Scrapbooking Layouts

Our first layout at June's Scrapbooking class was suitable for a whole range of subjects, masculine or feminine.

Our colour combo of Baja Breeze, Soft Suede and Very Vanilla co-ordinates perfectly with the "Elegant Soiree" Designer Papers.  We also used the "Circle Circus" stamp set on our Vanilla layer which is difficult to see but if you click on the photo you will get an enlarged image.

For our title we used the "Just Perfect" alphabet stamps and also the Sizzlits "Timeless Type" dies with the Big Shot Machine.  We punched out the Just Perfect letters using the 3/4" Circle Punch.  We also used the "Circles" Bigz die to die cut the circles to the right of the layout, first distressing the edges then inking with a dauber.


ooOOOOoo

Our Second layout uses papers from the "Love Letter" Designer Paper pack.  Our 12x12" base layer is Riding Hood Red and we simply teamed it with Basic Black and Very Vanilla.

We used the Big Shot Machine with the "Timeless Type" Sizzlits Alphabet Dies to create our title and I have to say a huge thank you to Vicky for loaning these to me.  I will definitely be investing in this set of Dies, they will have so many uses!

We also used the Scallop Circle Bigz die and the "Swirls and Scribbles" Sizzlits die which you can see at the top left of the layout.  For our journalling we created ribbon strips of Very Vanilla cardstock.

On the Basic Black layer we clear embossed an image from the "Style Beautiful" set using VersaMark ink and clear embossing powder, heating with the Heat Tool to add a bit of texture to this plain layer.

ooOOOOoo

A colour combination on this layout of Very Vanilla, Cherry Cobbler, Crumb Cake and Early Espresso.

We used the stamp set "Notably Ornate" on this layout.  The swallow was stamped in Early Espresso ink and hand cut layering with dimensionals.  We also used the large ornate label stamp which we inked in Early Espresso stamping onto our Top Note shape which we cut using the Big Shot Machine.

The flowers were die cut using the "Fun Flowers" Bigz L Die with spotty paper from the "Love Letter" pack.  The stripy crumb cake Designer paper is from the Neutrals stack and the "leafy" paper is from "Woodland Walk", remember you get 12 sheets of 12x12" paper in the Designer Series Packs, there are 6 designs and they are all double sided, great value at just £8.75!

If you click on the picture for an enlarged image you will see that we used the Spritzer Tool with Cherry Cobbler and Crumb Cake Marker Pens on two opposite corners of the layout, I really love this simple effect.

For the title we have again used the "Just Perfect" stamps and under the word "tent" we stamped an image from the "Welcome Christmas" set using a Marker Pen to omit the Christmas greeting in the centre which leaves us with a lovely beautiful border creating a nice label or journalling spot.

Thursday, June 16, 2011

Double Slider Card

At this month's class I decided to do something a bit more adventurous and as Carol had given me some instructions on how to make double slider cards I decided to get a design under way and this is how it turned out!! 
I chose a Wedding theme as it's that time of year and wanted to use the new "Wedding Wheels" A La Carte stamp which is gorgeous.

The colour combo used is Crumb Cake, Soft Suede, Pretty in Pink and Very Vanilla.  The patterned paper is from "Springtime Vintage" which is adorable.

On the insert we stamped a wedding greeting from "Occasional Quotes" and also used "Confetti" on the left side for decoration.

I was really pleased with the final result and the mechanism inside the card is not as difficult as it may appear!

We punched out hearts using the Heart to Heart Punch and added Crystal Effects and Pearls to finish.

Monday, June 13, 2011

Faux Silk Butterflies

Our first card for June's classes involved a technique called "Faux Silk".  For this technique you need to stamp your main image/images onto tissue paper, screw it up into a ball, undo it carefully and then attach it to a piece of Whisper White Cardstock which you have covered with Tombow or similar wet glue, smoothing down with a Paper Folding tool then trimming off the excess.

We used the Butterfly image from "Strength & Hope" and the large foliage stamp from "Just Believe" to stamp onto the tissue paper.  The greeting is from "Sincere Salutations".

Our colour combination is Concorde Crush (In Colour), Peach Parfait (In Colour) and Old Olive teamed with Whisper White.  The ribbon is the Stitched Poly in co-ordinating Concorde Crush.  The patterned paper is from the In Colour Paper Stack.

We punched out our greeting using the XL Oval Punch and then layered it onto one of the Sizzlits Labels cut using the Big Shot Machine.

The 3D Flower was created using the Boho Blossom Punch, spritzing and scrunching them to give a distressed look and adding a flower centre using one of the Bitty Punches and some Crystal Effects.

Thursday, June 9, 2011

Baby Blossoms vs Springtime Vintage Class for June

"Baby Blossoms Springtime Vintage Class"
Saturday 25th June 10.00am-1.00pm
AND
Tuesday 28th June 7.00pm-9.30pm
at
Whitminster Village Hall


This is an extra class that I have scheduled for June
You will create three projects, a 3D Box, One fancy fold card called a "Tri Fold Card" and Square Card all using the Springtime Vintage Papers and Baby Blossoms Stamp set.
The Class will be £16.50 and include £12 worth of products!!!

If you would like to order your own set of "Baby Blossoms" Stamps for use at the class, order when you book your space and get 10% off the normal price.
Baby Blossoms Stamps Discounted Prices:
Wood Mount - Item No. 121927 £24.25
Clear Mount - Item No. 122000 £19.75


Spaces will be limited to ensure the class runs smoothly so book your space early
All you need to provide is your favourite adhesives and a pair of scissors.

If you would like to reserve your space, email me at stampinkerry@aol.com or text to 07717 068909.
Booking closes Thursday 16th June 2011

Scrapbooking

Our second layout of the evening was created using papers from the "Playdate" paper pack along with some from the Neutrals Paper Stack.  Our colour combo was Chocolate Chip, Old Olive, Crumb Cake and Whisper White.

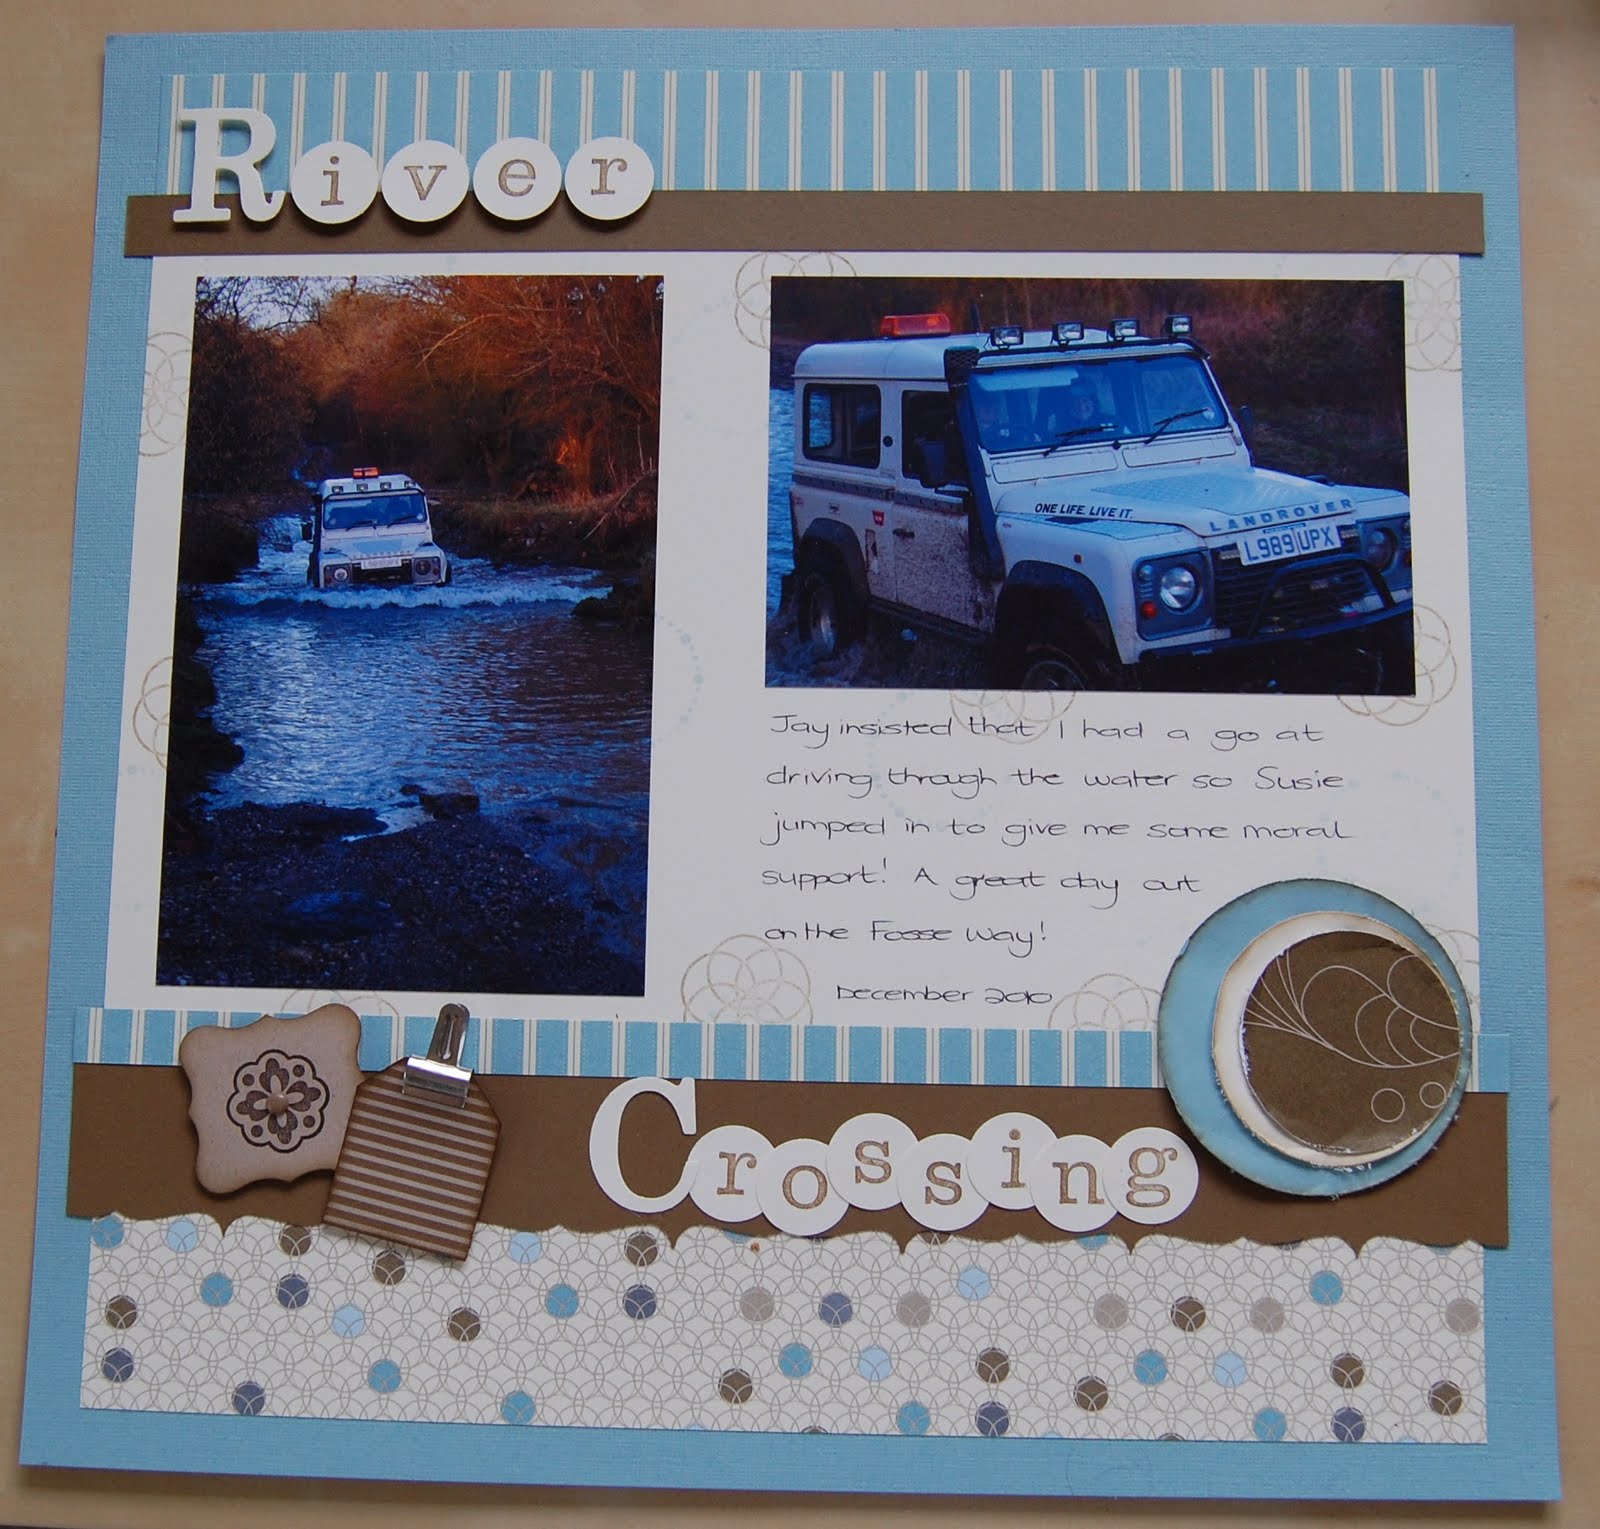
We love our Landy, although we don't go out in it much, only on a really wet weekend as it is so much fun slipping and sliding in the mud along the Byways and not quite the same when the ground is dry!!

We used the 1 3/8" Square Punch to layer different patterns of paper around our photograph and using the Big Shot Machine cut out a Top Note shape to act as our journalling spot.

For our title we used "Schoolbook Serif" and "Just Perfect" alphabet stamps which are so handy for scrapbooking but also great for personalising cards too!

We punched a Chocolate Chip border using the Scallop Edge Border Punch and added a strip of 1/4" Grosgrain Ribbon in Old Olive.

The stars were punched using Crumb Cake cardstock and we added buttons, brads and linen thread for texture.

Wednesday, June 8, 2011

May Workshop Make and Take

I had a request for something from the "Brights" collection for my workshop make and takes during May and this is what I came up with!  Not much stamping on the front but of course we had the insert sheet inside the card to let those creative juices loose!!  A workshop Make and Take is designed to give everyone a "taste" of the products, kind of buy before you try which you won't find in your local craft shop!!

So no exception with the word "Brights", a colour combination of Tempting Turquoise, Melon Mambo and Pear Pizzazz teamed with some Whisper White.

We used the "Flower Daisies" die with the Big Shot Machine to create our beautiful flower and also did some embossing with the "Perfect Polka Dots" Embossing Folder.

The greeting is from "Perfect Punches" stamped in Melon Mambo ink and punched out using the X.Large Oval Punch.

We added a bit of dazzle to the centre of the flower using Crystal Effects and Dazzling Diamonds Glitter.

For the insert we used the "Circle Circus" stamps to decorate.


Friday, June 3, 2011

Growing Green

This is a card I made for Amanda for her recent birthday.  I think this stamp set is quite often overlooked because the images are just line based and people are often unsure of what they can do with it.  Of course you can watercolour these flowers which gives you a beautiful effect but here I have simply used a dauber to create a subtle amount of colour around the edges and centres of the flowers.


I based my card design on one of the projects we will be making at our Big Shot Class on Tuesday 14th June, I still have a couple of spaces available if you would like to join me.  I used the Scallop Circle Bigz Die to create my card base and also the Square Lattice Embossing Folder on the Vanilla layer.

The patterend paper is from the "Springtime Vintage" pack and I have teamed it with Soft Suede, Rose Red and Very Vanilla.

May Scrapbooking Layout

I am a little late in showing these as the class was last month, but better late than never!

The first layout was very soft and subtle, using colours from the "Subtles" family.  To save our cardstock we gutted the main Perfect Plum 12x12 sheet behind the Very Vanilla layer, by "gutting" this means cutting out a section that is going to be hidden by another layer.  We then used the "gutted" piece on the layout over the large Vanilla, waste not want not!!

The bunting was created using one of the new stamp sets from the mini called "Four Frames", which by the way, I love!  We used the co-ordinating Decorative Label punch to punch out each image with ease then cut them in half to create our bunting, linen thread acted as our line.  Our title was stamped using the "Just Perfect" Alphabet set which we punched out with the 3/4" Circle Punch and adhered to the bunting.
We used the Big Shot Machine to die cut our Butterflies using the "Beautiful Butterflies" Bigz die and Sizzles for the Leaves and Label.

The flower in the top right corner of the photograph was punched out using the 5 Petal Flower Punch and we added a Bitty Button to the centre tying a know with a slither of cardstock.

We used the "Wedding Sweet" stamp set for our background on the Perfect Plum base layer and also the larger swirl stamp on the Vanilla layer, you will have to double click on the layout to get an enlarged image to view this.