Saturday, January 18, 2014

Flowerfull Heart


In December I ran a class showing different ways of using the Envelope Punch Board being that it such a versatile tool that is definitely not just for making envelopes!!

Here is one of the projects, a folder containing some little cards.  My class included the Flowerfull Heart Stamp along with a set of the Sweet Sayings Cards and Envelopes and the Sweetheart Treat Bags, all of which are available until the end of January so don't miss out on them as they won't be around for much longer!  The details are on the right hand side of my blog.


We made a "pouch" to hold our cards in, then inside used the Envelope Punch Board to create a pocket to hold the cards and envelopes.


The Sweet Sayings Cards are delicious, with a lovely pattern printed around the border of each heavyweight card base, and matching envelopes in Real Red, Crisp Cantaloupe and Coastal Cabana.
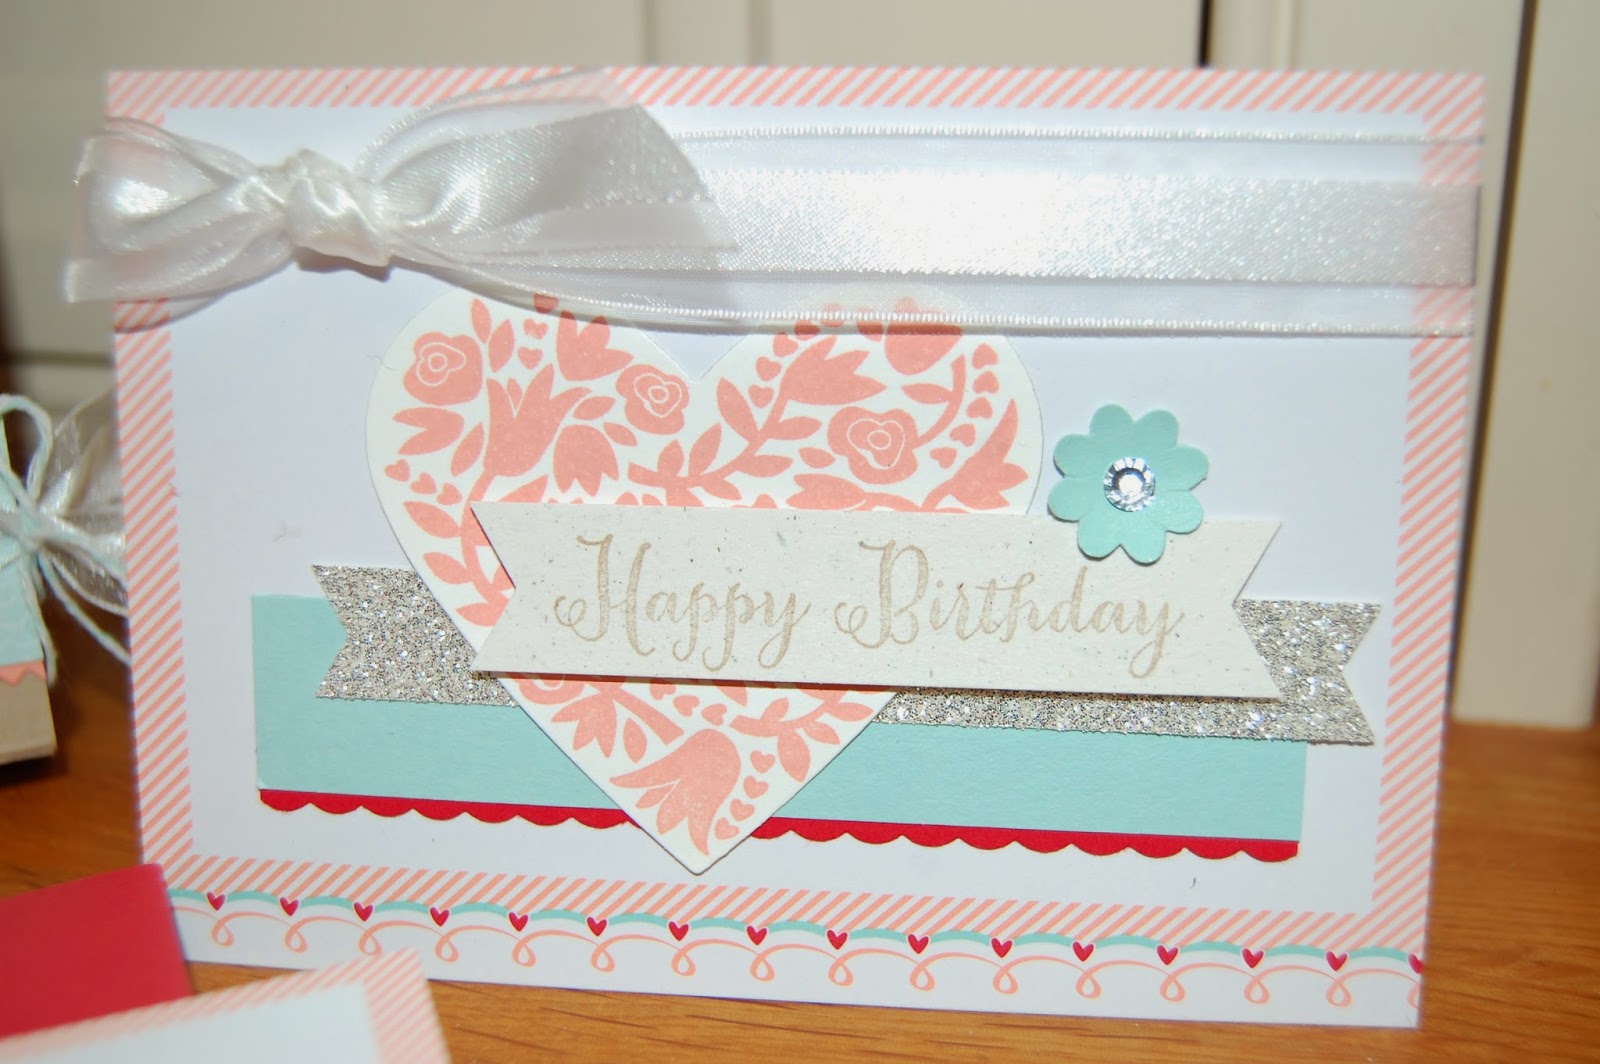

We used elements from the Sweetheart Treat Bags pack to decorate the cards, here we used one of the Banners and some Bakers Twine from the kit.
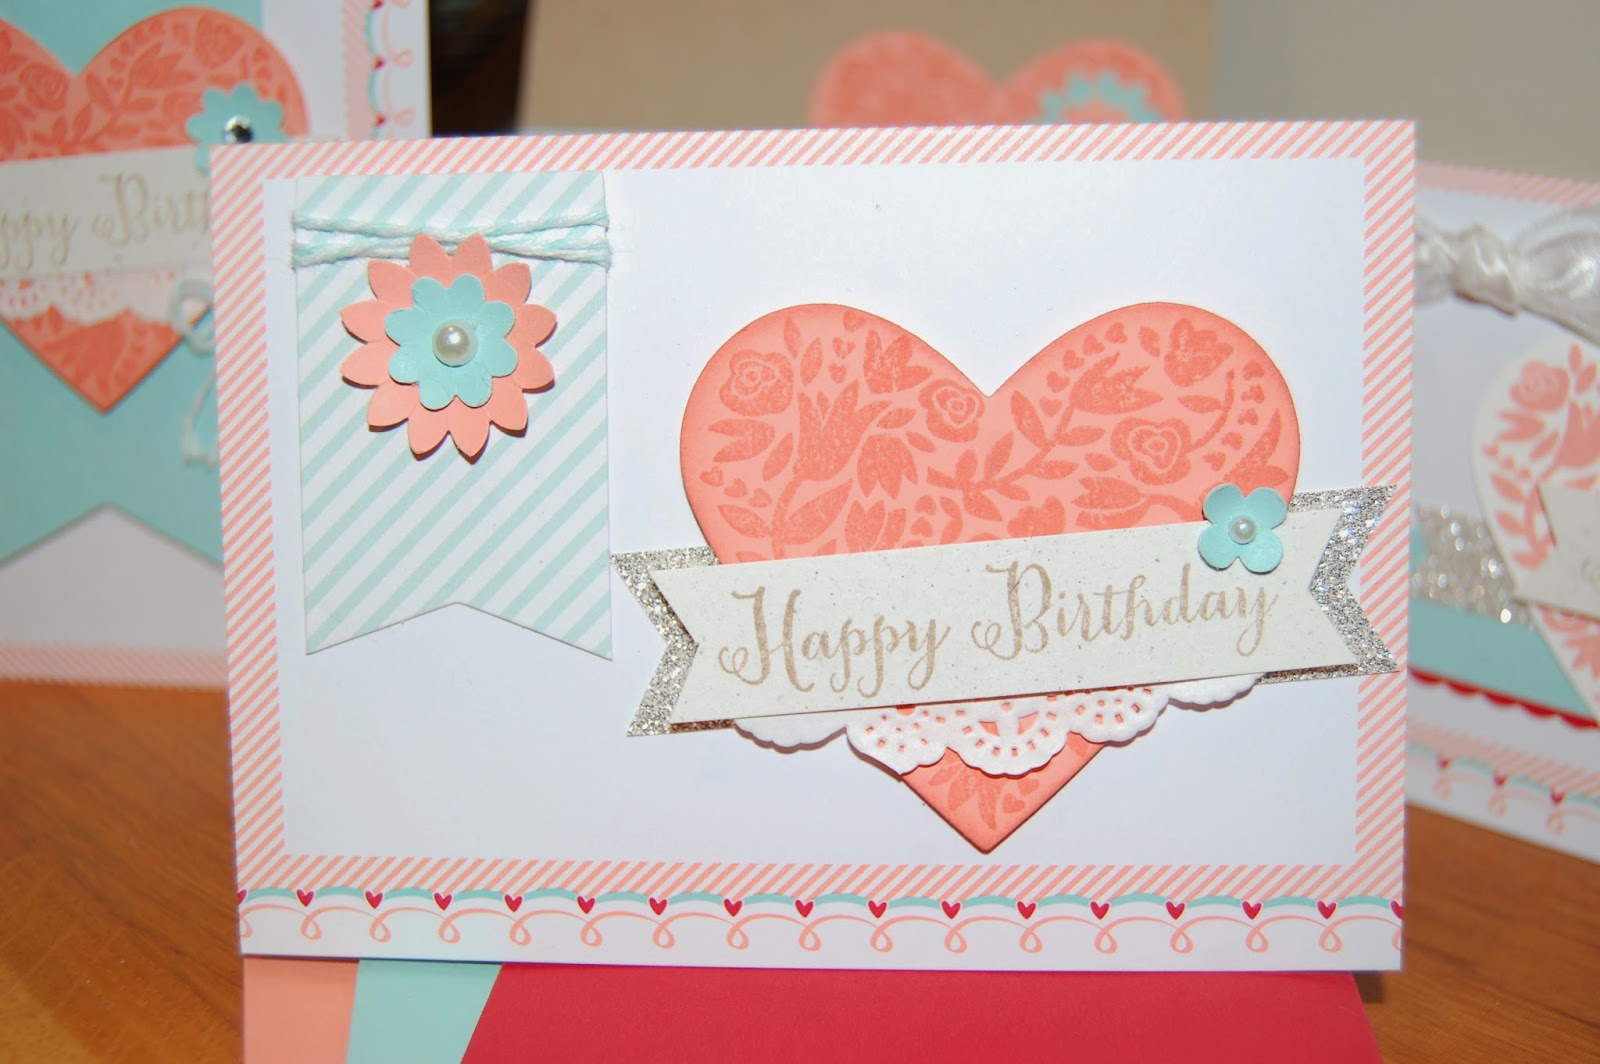


The Flowerfull Heart stamp was cut out using the Hearts Framelits dies which co-ordinates perfectly, we daubed around the edges for a soft finish.


For the Card Pouch closure, we simply added punched circles to a paperclip which slipped over the top to keep everything together!  The "Made with Love" stamp is from the Love You More set which is again from this month's promotion so check out the link at the top of my blog.


suppliessignature

Monday, January 13, 2014

Your'e Lovely Sneak Peak


Here are the cards I made for some team members at December's monthly training, each month I recognise those who are in my top 3 for Sales with a handmade card.

This is very similar to the card in my previous post except I changed my first layer to crumb cake and stamped the Gorgeous Grunge stamp with Whisper White Craft Ink.  I covered over the word "lovely" with the word "Amazing" for the stamp set "Your'e Amazing".


I layered everything with Dimensionals for a 3D look and added some Linen Thread for texture.


And here they are all together, here you will see I used different papers from the new Sale-a-bration pack at the bottom of each card.

supplies


signature

Thursday, January 9, 2014

Sale-a-bration Sneak Peak

Today I am sharing a card that shows some upcoming products from the most amazing promotion Stampin' Up! offer, yes, "Sale-a-bration" which begins on 28th January.

As a customer Sale-a-bration enables to you to earn exclusive stamps and accessories for FREE with a qualifying £45 spend.

If you host a party during the Sale-a-bration period then you can earn extra Hostess Credits too.

If you join my team during Sale-a-bration you will get an extra £30 of Stampin' Up! goodies in your kit for FREE.  Joining is easy, it can be done online in minutes and you can earn yourself a permanent discount on products and be part of the family of fun and creativity.  Why not earn money doing something you love?

So onto my sneak peak.........

I made this card for Caroline's birthday to go with the gift I had packaged.

My colour combo is:
Calypso Coral
Coastal Cabana
Whisper White

It uses two new stamp sets that can be yours for FREE during the "SAB" period

The bunting is created using a stamp set called "Banner Blast" and has a matching punch which is awesome, I just know this is going to be a favourite with everyone as it's so versatile.

The label is from another set called "Your'e Lovely" and it co-ordinates with the 1 3/4" Circle Punch and also the "Deco Labels" framelits so no cutting required!


I used "Gorgeous Grunge" stamps for the "splats", a real favourite set of mine which is constantly pulled from my shelf.

Do you see the lovely thick twine, it's gorgeous and comes in three delicious colours.  Here the Crisp Cantaloupe blends in great with the Calypso Coral ink.

The patterned paper is a sneak peak from the upcoming Spring/Summer Catalogue which releases also at the end of the month and we are being so spoilt with lots of amazing new products to play with.


A close up of the stamped bunting, I added a bitty flower from the "Bitty Punch Pack" set of punches topped with a pearl.


I hope you like my creation today, I am hoping to play more with my Sale-a-bration goodies and be back with more lovely things to share with you.

Don't forget, it's a great time of the year to host a party and earn yourself lots of exclusive products for FREE, it's fun and easy to host a party, just get in touch for more information.

supplies
signature

Monday, January 6, 2014

Sale-a-bration Sneak Peak

Sale-a-bration is just around the corner, the most amazing promotion Stampin' Up! has to offer, it's the best time of the year as you are able to earn yourself FREE exclusive products.  If you host a party during the promotion you can earn extra goodies with your Hostess Credits.

Sale-a-bration begins on 28th January and runs right the way through to 31st March so you have plenty of opportunities of earning yourself lots of lovely FREE goodies that are being offered.

Now I can't share any actual products with you just yet as it's a secret, but I can show you some projects I have created!

So here's a gorgeous gift presented using one of the Sale-a-bration offerings this year.  A lovely kit containing spotty cellophane gusseted bags, tags, ties and glimmery hearts that will be so useful for so many different occasions.


I love the twisty ties, they are double sided so that when you twist them like you do for sandwhich bags you can view both sides whereas here, I folded the edges around the top of my cello bag as I wasn't scrunching it up and the wire inside the tie held it nice and firmly shut.

I decorated the striped tag using flowers from the Boho Blossom punch.


Inside I decorated a glassine bag to contain the gift for Caroline, again more flowers from the Boho Blossom punch and some coordinating paper from the 12x12" Paper Stack.  The large white hexagon with the Island Indigo border is also from the kit and I stamped a hexagon from the Six Sided Sampler stamp set to go with it, this is great as it has a matching punch.

The Crisp Cantaloupe thick twine is from another Sale-a-bration gift, can't wait to share that one with you.

I used Washi tape to cover a peg.


And the finished gift again, I loved it and I think Caroline did too!


supplies
signature

Friday, January 3, 2014

Notecard Box using the Envelope Punch Board

This project uses the AMAZING Envelope Punch Board to create a 3D envelope to encase some simple notecards.


I love the "Notecard and Envelope" sets, they are a great size, smaller than the standard envelopes Stampin' Up! offer.
Whisper White Note Cards & Envelopes131527
Price: £5.50
This was another class project, everyone received half a pack of the notecards, along with the Magnificent Maple stamp and a tub of the Vintage Designer Buttons.  Here we embossed the vintage buttons using "Pewter" embossing powder, the result is amazing!

Very Vintage Designer Buttons129327
Price: £5.50


The box envelope is created in a flash using the new Envelope Punch Board

Envelope Punch Board133774
Price: £17.95


The outer design matched the cards inside and I secured the envelope using Organza ribbon which slides on and off.

suppliessignature

Monday, December 30, 2013

Notepaper & Gift Card Holder

Here I used one of the Large Stamp Cases to create a Notecard/Notepaper gift set.

The case has a plastic covering so you can slip in some DSP to pretty it up, here I stamped my initial using the "Morning Post" alphabet stamps and then layered it onto a stamped image from "Chalk Talk" and cut out with the co-ordinating framelits set.

The designer paper here I used is called "Eastern Elegance", the same which was used on the flowers on the mirror on my previous post.  I loved the colours in this pack.


Here's the inside containing note cards and some monogram note paper.


At the class everyone received the "Magnificent Maple" single stamp so we used it on most of the projects.


I designed a pocket that would fit the notecard envelopes using the Envelope Punch Board


Hope you like the idea, these stamp cases have so many uses.

supplies
signature

Sunday, December 29, 2013

Did you have a Merry Christmas?

So I've been taking a little break from blogging over the last couple of weeks, Christmas as you know is a busy time and sometimes things have to give a little to make room for the more important things in life.........

.......... family and a new puppy!

But I will be sharing some projects that I created over the last couple of months, I really have tons of pictures to share with you but never the time to get them on here, so let's get back to blogging with a picture of the new love in my life............

.......meet Alfie!


not the best pictures but it's pretty tricky getting him to sit still and look at the camera without wanting to eat it lol!!

I have to say it's like having a baby all over again and he's the biggest time waster out but hey, I needed a distraction from work and he's definitely that, he's just so darn cute I can't stop cuddling him!!

We've had a lovely Christmas at the Timms household, the tree looked lovely with all the pressies under and the Christmas Lunch was a success, thank goodness and it followed with a buffet in the evening with the whole of Jay's family then a Boxing Day dog walk and more of the family getting together for food!  I took several pictures of the group on the dog walk but didn't get one where everyone was looking!


So back to all things Stampin' Up!

At the end of November I ran an all day class called "It's a Gift" which involved creating projects that could be given away as a gift.

Here's one of the items we created, a decorated mirror, you could cover over the mirror part with a photograph if you prefer.


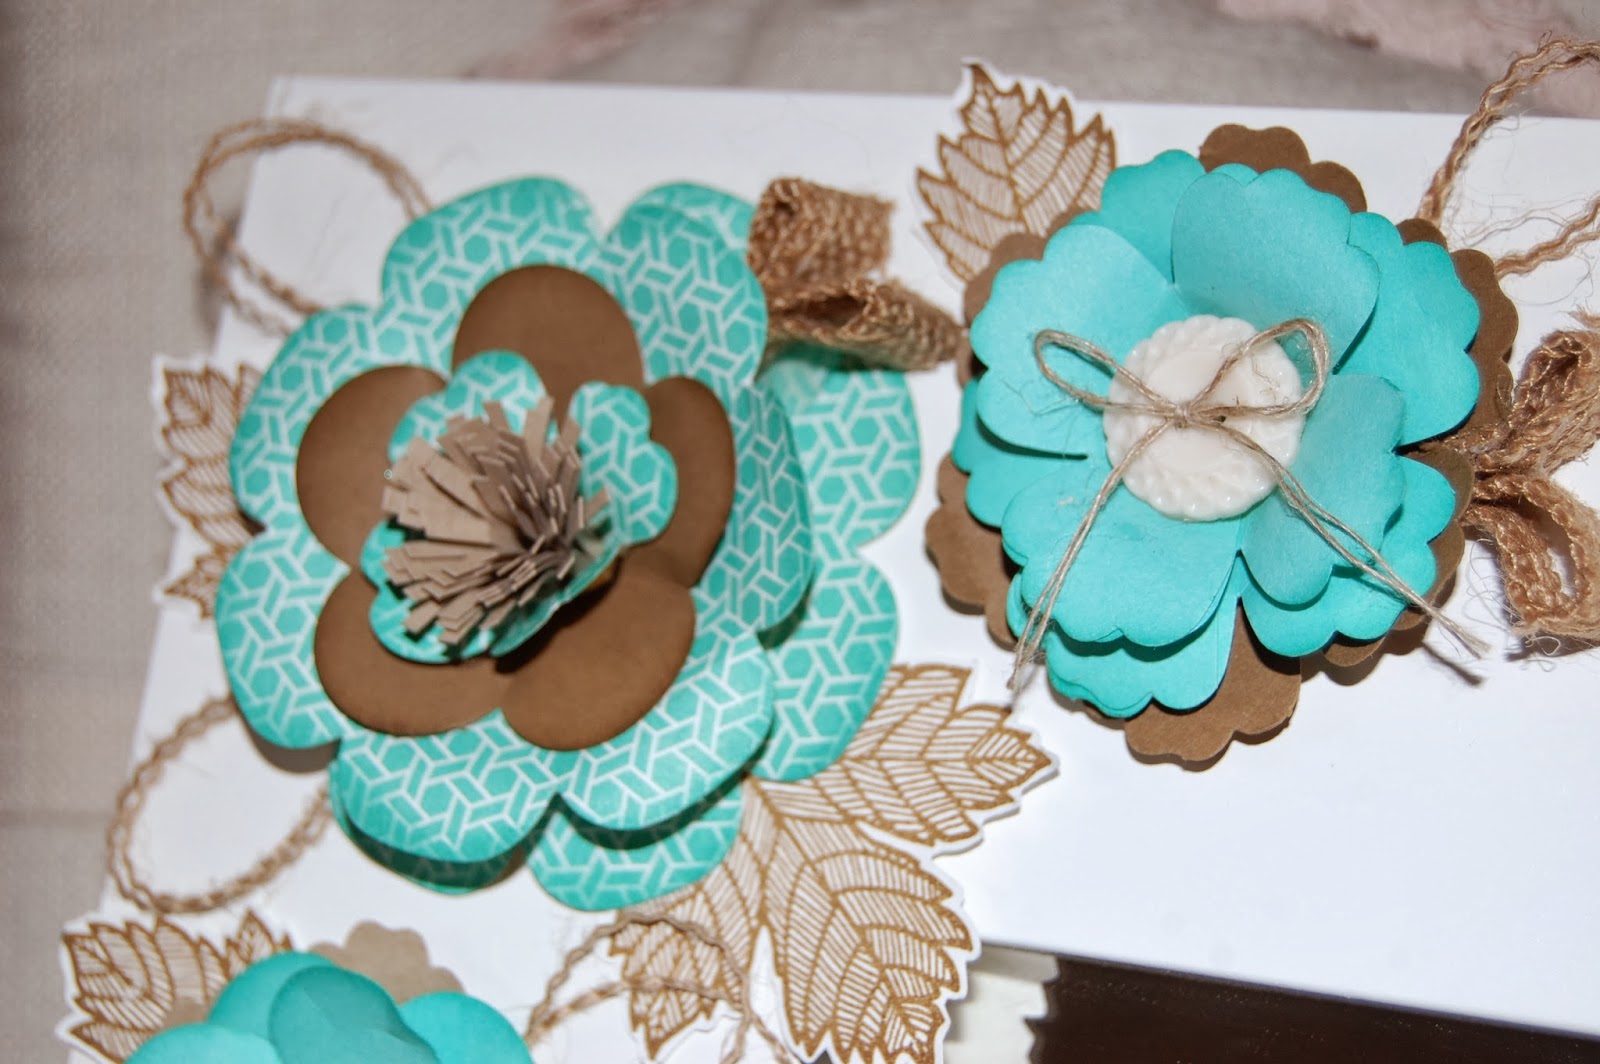
The 3D flowers were created using the Floral Frames Framelits dies along with the Fancy Flower, Blossom and Pansy Punches.

We used burlap to make some leaves and everything was stuck to the mirror using a hot melt glue gun.


We also decorated a plain pizza box to hold the mirror.


supplies
signature