Showing posts with label Framelits Labels. Show all posts

Tuesday, April 22, 2014

Butterflies and Flowers......

...... are valuable images to have as they are just so versatile.  Butterflies are also great for hiding little mistakes too!

Here I've used the Papillon Potpourri Stamp Set which has two different sizes of Butterflies in a variety of designs and the great news is that we have 2 co-ordinating punches, the Elegant Butterfly and the Bitty Butterfly.

My colour combo is 

Whisper White
Crumb Cake
Coastal Cabana


You may notice that the embossing folder used for the centre of the Labels Framelits has now sadly retired but this can be substituted with any other folder.

I have used the Naturals White Cardstock, it has a rough finish with "sawdust" pieces in and it's great for card bases as it's a good weight.  It's amazing value at just £6.75 for 40 sheets!


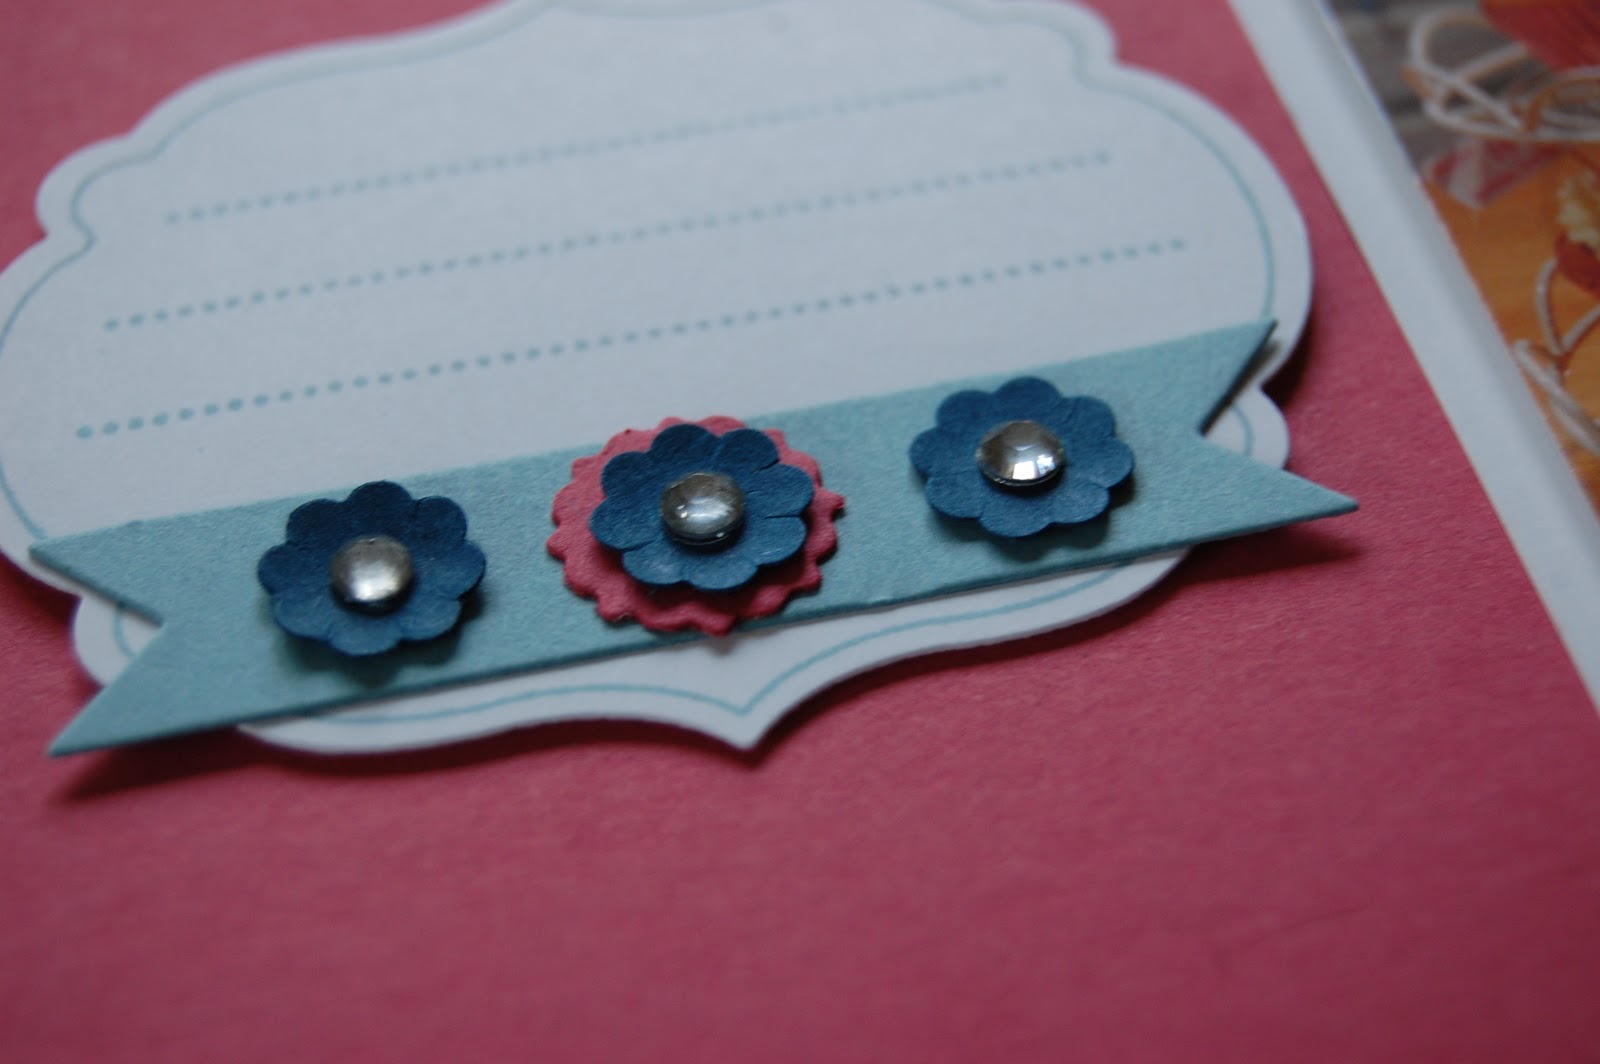
I also used one of my favourite sets, Petite Petals along with it's co-ordinating Punch.  I just can't get enough of this set, I'm finding it really hard to put down.  Adhesive Basic pearls adorn the centres of the flowers.

The "hello" banner is from the "Perfect Pennants" stamp set, cut using the co-ordinating Banner Framelits Dies.


I used one of the Needlepoint embossing folders to create the lovely embossed border at the bottom of the card.

If you would like to re-create my project and would like to purchase any of the products I have used, just click here to visit my online shop where you can browse the Stampin' Up! product line 24-7 from the comfort of your home, with a tracked delivery serivce to your door.


supplies
signature

Monday, January 28, 2013

Smarty Pants!

For this card I have used the "Patterned Occasions" Sale-a-bration stamps, I chose the "smarty pants" image which would be great for teen cards.
 
My colour combo is Pool Party, Calypso Coral and Wisteria Wonder.
 
The papers are from "Sycamore Street", another Sale-a-bration FREE item.
 
There is another sneak peak from the Spring/Summer Catalogue amongst this, I am sure you can find it!
 
I used the Labels Framelits dies for the Pool Party Label and coloured the jeans/trousers image using my Wisteria Wonder marker pen as I wanted to separate it from the greeting which I inked after in Early Espresso. 
 
The flower was punched using the Bitty Punch Pack, I use these all the time and come as a set of 3 small punches, 2 flowers and a circle that is so handy.
 
More use of my Bitty Banners Framelits dies, they are great and I use them for lots of different greetings, not just with the Itty Bitty Banners stamps that co-ordinate with them.


The Calypso Coral ribbon is from the Sale-a-bration leaflet, this free item includes 3 rolls of ribbon along with a pack of 36 co-ordinating buttons.


Tuesday, November 20, 2012

Icing on the Cake

When Sophie was 16 at the beginning of October, we all went out for a family meal and the plan was for everyone to come back to ours for coffee but the night went on a little longer than expected so we ended up going home with just us.  Sophie's cousin had made her some gorgeous cupcakes and was going to unveil them when we got home.  We of course, still lit the cakes and sang to Sophie, yet again, to her embarrassment and devoured the cupcakes which were divine.
 
Loving the "Patio Party" designer papers, they contain the new "In Colours" Midnight Muse, Primrose Petals, Summer Starfruit and Raspberry Ripple, gorgeous!  The alphabet dies have now sadly retired but I have bought myself the new Typeset dies so watch this space!
 
 
Don't you adore the Doilies, they were cut with the Big Shot using the Doily Sizzlit die, so pretty.
 
The "Congratulations" and Chevron are both from "Border Banter" stamps which you can find in the Autumn/Winter Seasonal Catalogue, available until the end of January.
 
I have yet to put the words "on the" to my layout and journal but that time will come one snowy Christmas evening when there's nothing else to be done, I won't forget this evening, we had a lovely family time.  This journal frame from the Apothecary Art stamps is perfect for scrapbooking but works great on your cards and gift projects too.
 
 
Back soon with some more Christmas projects.....
 

Thursday, August 23, 2012

Double Pocket Pouch

This little Double Pocket Pouch is really popular with everyone, it is so simple to create the pouch and can be decorated to suit so many different occasions.
 
As the "Reason to Smile" stamp set is on promotion during this month I thought I would re-create the pouch to match a card that I recently shared with you.
 
 
The patterned papers are from the "Sweet Shop" pack which will sadly be unavailable after August as they are in the Summer Mini Catalogue.
 
The pockets on the Pouch could contain a Mini Notecard and Sweet Treat or gift.  You can even fold it "inside out" so that the pockets are on the inside and then decorate the plain sides.

 
Here are both items together


The "Reason to Smile" stamp set will only be available during August, you can purchase the stamp set or earn it for FREE with a qualifying order.  Just call or email to place your order and have it delivered direct to your door if you are not local to me, I can take payment via Card over the phone.

Friday, August 17, 2012

Fun Flowers and Framelits at the Big Shot Class

At this month's Big Shot Class we concentrated on using the "Fun Flowers" Die and Framelits Labels Dies.  We create two cards and a 3D item at this class using the Big Shot.

My colour combo is Crumb Cake, Pear Pizzazz (soon to be disappearing!) and Pretty in Pink.

We used the "Apothecary Art" stamp set along with "Oval All".


This little box is really cut and very easy to put together.  We daubed the edges of the lid and spritzed too, it is hard to see from the picture but we also stamped on it.  The greeting is also from "Apothecary Art"


We accented our flowers with the "Antique Brads" which are so delicious and spritzed them in Pretty in Pink too! 


We used the Lace Ribbon Border Punch to decorate the bottom of the card then cut out one of the flowers to use as the centre part of our main flower


A very simple card but quite pretty


Tuesday, August 14, 2012

At Amanda's Quarterly Training events we have "Inspiration Stations" where Demonstrators show us their talents and wow us with inspirational ideas.

In July, Jane showed us this technique called "Pressed Vellum" and I had seen it before but never tried it so thought I would have a go.

I designed my card to focus on the technique which is achieved by stamping using an outline stamp onto Cardstock Vellum (available in the Catalogue), embossing the image with White Embossing Powder then "colouring in" from behind using the Stylus that is available in the Mini Catalogue, this also comes with the Simply Scored Tool.


I used the "Bordering on Romance" stamp set as it's outlined images are perfect.

The Island Indigo heart DSP is from the "Sweet Shop" paper pack.

The flowers to the top right were coloured in using Blender Pens with the lids of the ink pads, if you squeeze them gently when closed, a residue is left on the lid which you can then "pick up" with a Blender Pen and use to colour.


Lots of use of the Framelits Labels dies and I also created a new label shape using one of the framelits to layer behind my greeting, I haven't seen this done before but I am sure someone has already "invented" it!


The greeting is from the "Petite Pairs" stamp set and this one fits perfectly inside the Small Oval Punch.

Monday, August 13, 2012

Up Up and Away

Sketch blogs are a great way of kick starting your mojo, I use them alot and this is where this card began.  My colour combo is Lucky Limeade, Pacific Point, Pool Party and Whisper White, a great one for the boys.

The spotty paper is from the Brights Paper Stack and you get a whopping 40 sheets of 12x12" papers, 2 each of 2 designs per colour in that family for an amazing £19.50, this stack just goes on and on! 


The stamp set "Up, Up and Away" is from the Summer Mini Catalogue which will be disappearing at the end of this month, I love how versatile this set is for both young and old, male and female cards and projects.

I used the Framelits Labels to die cut the stamped layer and the mat behind it.

A bow tied with Bakers Twine finished it off!

Would you like to own this stamp set to create some masculine cards of your own, why not call/email me to place your order and when you get your delivery through your letterbox you will also receive a copy of the new Autumn/Winter Catalogue to browse at your leisure before it goes live on 1st September.


Saturday, August 4, 2012

Reason to Smile

This stamp set will give you every "Reason to Smile", it is just so delicate and pretty.

Here I have just used the shaddow stamps to create my image so no use of the Stamp-a-ma-jig this time.

My colour combo is Crumb Cake, Blushing Bride and Pear Pizzazz teamed with Whisper White.

I used one of the new Framelits Label dies as a base for my flower image, these dies are just so brilliant, quick and easy to use and create great mats for our stamps as they cut larger sizes than our punches.  I spritzed with a Crumb Cake Marker Pen then daubed around the edge in the same colour.  The background uses another stamp from the same set.


The greeting is from "Petite Pairs", a set I use so much as the greetings are so varied and this one fits lovely inside the Oval Punch.

Remember this stamp set is only available during August and you can purchase it for £14.95 in Clear Mount or £18.95 in Wood or why not earn it for FREE with a £60 purchase.  If you are not local to me and would like to earn this set for free with a qualifying order, I will pay the £4.95 to ship it direct to your door!

Off to Motorcross shortly and have some kits to cut for Monday's class so must dash.

Enjoy your weekend everyone and let's hope for some more sunshine soon!

Sunday, July 22, 2012

Bright Blossoms Class

On Saturday I held my "Bright Blossoms" Class at Whitminster and I was joined by 12 lovely ladies and here are the projects they created.  All the projects co-ordinated and our colour combo was Sahara Sand, Island Indigo, Pool Party, Melon Mambo and Lucky Limeade.

We made a gift box that fits 4 Ferrerro Rocher perfectly, a squashed version of one we made recently at my Big Shot Class!  We used the Blossom Punch and stamped flowers from the Bright Blossoms stamp set to decorate the petals.  We also stamped the dotty flower head in Whisper White onto the base of the box but it's difficult to see here!
To go with the box we made a cute note card with matching envelope that we created using the Simply Scored tool with the Diagonal Plate, it is so quick and easy with this score board.


Next we made two cards 


Followed by a gift bag that would be suitable to hold a small gift or a set of the mini notecards that we made earlier.

We used the Framelits labels and Edgelits for this one which I find I am using all the time.  The handles were made with the Stitched Poly ribbob in Pear Pizzazz

Here is a closer view of the front panel......


Everyone had goodies on arrival, the Bright Blossoms Stamp set, a pack of Mini Silver Brads and a pack of Bakers Twine in White.

I decorated their goody bags and die cut their Initials with the Timeless Type Sizzlits Alphabet and used Crystal Effects to give them a nice shiny finish.


Here is everyone hard at play, we had the side doors open letting in the beautiful weather and it was almost like crafting outside!


Thank you all for coming along, you created a lot of projects in one morning and hope that you weren't feeling too pooped for the rest of the day!!

Wednesday, June 6, 2012

Big Shot Class

At May's Big Shot Class we used the new Framelits Labels dies to create our projects along with a new stamp set from the Summer Mini Catalogue called "Bright Blossoms".

We make 2 cards and a 3D item at this class, all for £10.  Our colour combo was bright and breezy, Wisteria Wonder, Pool Party with a little Pear Pizzazz and Calypso Coral.

The stamped images are multi-coloured and to do this we used the Marker Pens direct to the stamp, the results are lovely.


We also used the new Adorning Accents Edgelits and Embossing Folders and I am really loving these new products.  Don't you love this spotty Designer Paper, it's from the Sweet Shop Speciality Pack, the spots are embossed, it is so lovely in real life!


On this card we used the new Scented Embossing Powders to make the flower smell, I think my favourite is the Cherry!

The last card is one we made at my recent catalogue launch, quite simple but stunning.

I have a date in my diary for a class in July which will include this stamp set, details to follow very soon!

If you would like to come to my next Big Shot Class held at Whitminster, why not book your space, it will be on Tuesday 19th June at 7.00pm.

Tuesday, May 29, 2012

Framing the Romance

This is a card we made recently at my 6 Card Class, clean and simple but stylish in it's own way.

We used the new "Bordering on Romance" stamp set, watercoloured the image using the Aqua Painters and ink from the lids of the ink pads onto the Watercolour paper, the results are lovely.  You will need to use the Black StazOn ink for the outline image otherwise you will get a bleed when you watercolour.

We have used the new Framelits Labels which we then embossed with the Oval Designer Frame, it fits lovely inside then the co-ordinating Oval Punch fits inside that, don't you love how everything works together!  The designer paper is from the "First Edition" pack.

We also used the new Edgelits "elegant edge" (that's my word for it!) along with the co-ordinating embossing folder.  To finish we tied a knot around a small piece of Crochet Trim and Pool Party Ruffled Ribbon.